Here are pictures of some of the equipment I use to shoot panoramas. Newest equipment is towards the top, older equipment is at the bottom.
This is the latest from Fanotech. The Nodal Ninja M1L. For a list of modifications done, click here.
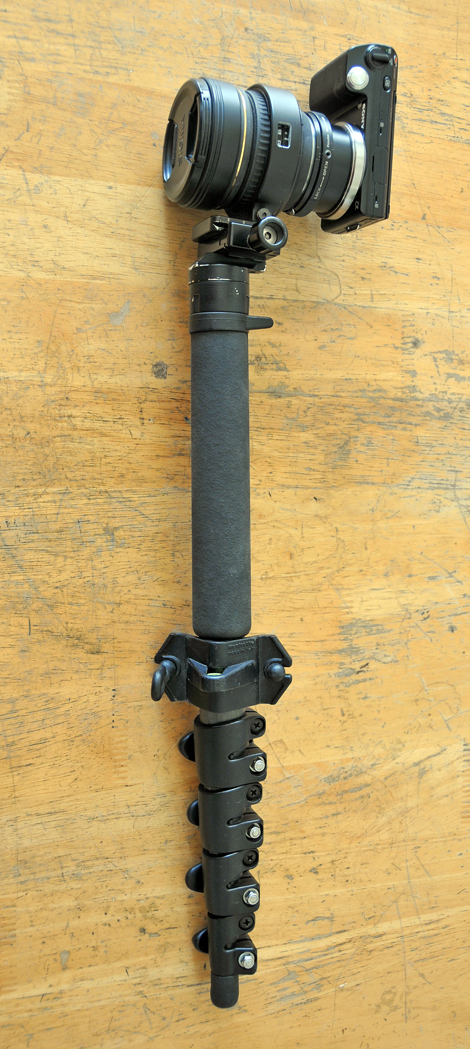
When traveling, hiking or cycling, I use a monopod rig to shoot my panoramas.
 |
 |
| The Sony NEX-5 camera is a mirrorless
camera with a 14 megapixel APS-C sensor. This is everything my D300 is
without all the bulk and weight. The lens is a Sigma 8mm f3.5. This rig weighs less than 4 pounds total and is so very portable. |
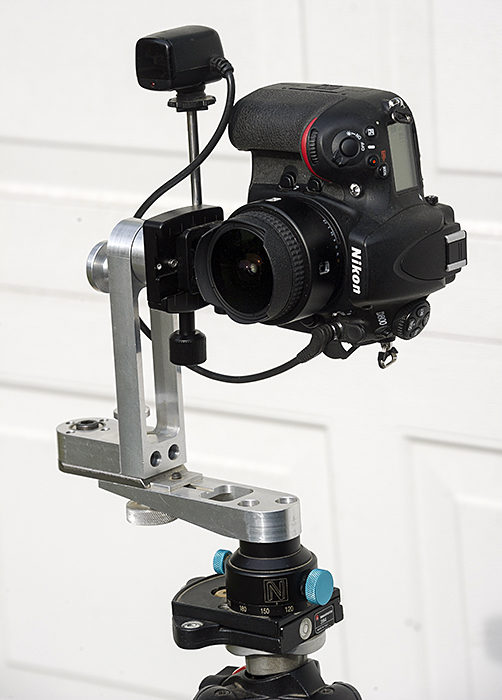
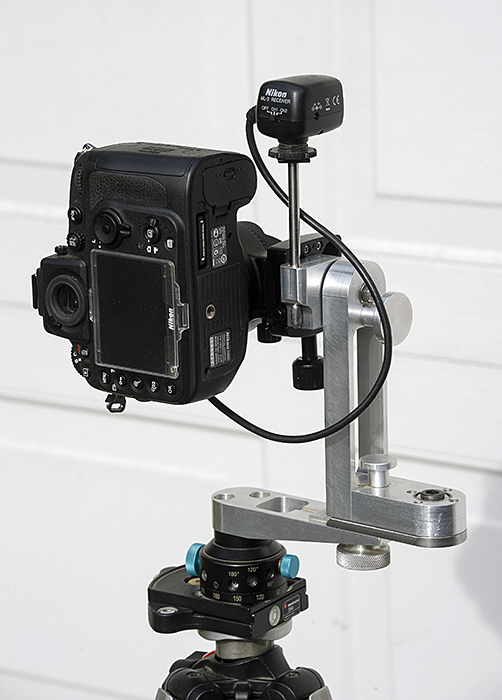
Here I present my own designs for a panorama head.
You never need to remove the camera from the pano head in order to capture the Nadir patch shot.
Rock solid stable on flat ground. On a rocky stream bed or incline, you would need a counter balance weight on the tripod leg.
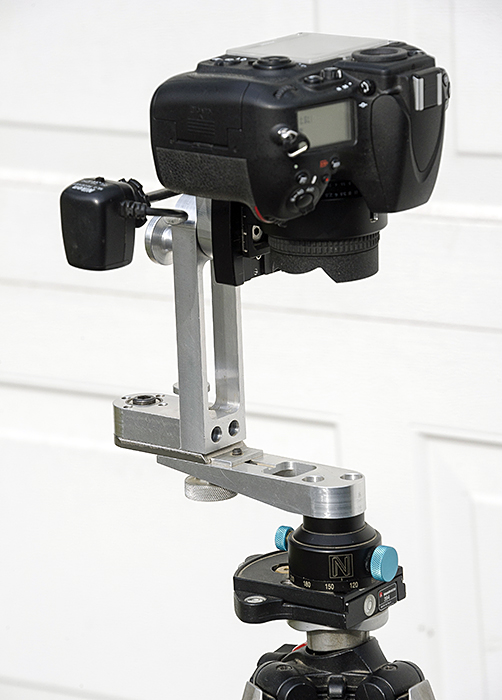
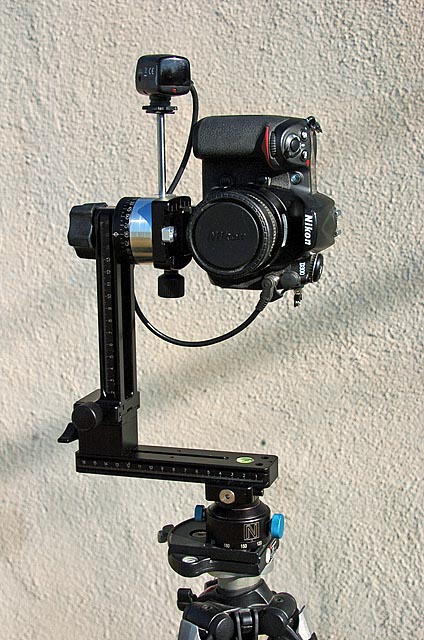
Here is a less stable but way more interesting looking pano head.
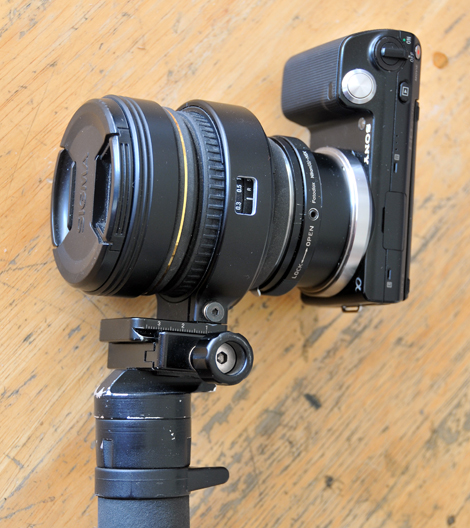
For times when there is not enough room for a tripod, I use this rig:
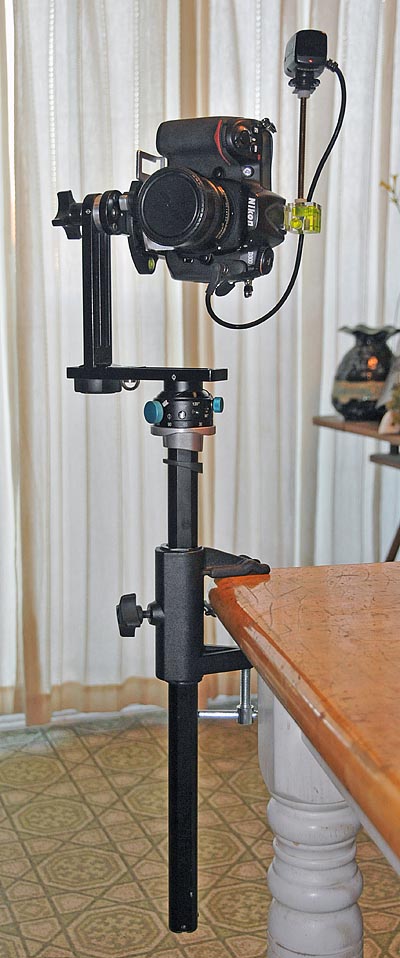
This is my modification to a Nodal Ninja 3. I use a Nodal Ninja Ultimate lens clamp to position the camera on the pano head. After taking the Nadar shot, I move the camera to the back position, slide the tripod over 11 inches, then shoot the Nadar patch shot.
This method is so much quicker than the way I was doing it before.

Somewhere in there you can see the ghost of the original Nodal Ninja 3. That pano head has long since passed on. I scavenged it so much that it is no longer useable.
Below you will find stuff I have previously made and used in an attempt to simplify the Nadar patching technique.
I used to use quick release plates. The amount of time to switch from taking the Nadar shot to taking the Nadar patch shot is less than 1 minute. It takes the same amount of time to switch back.
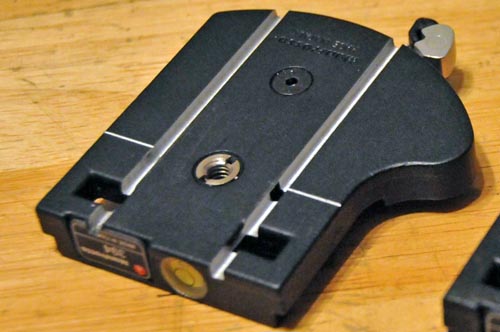
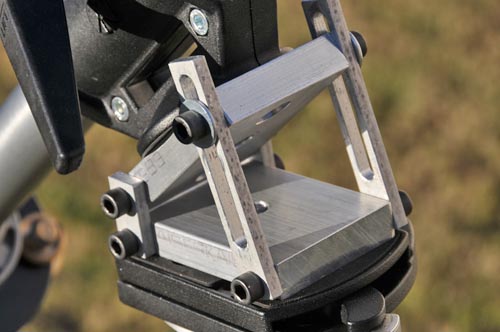
First, the plate that bolts onto the camera:
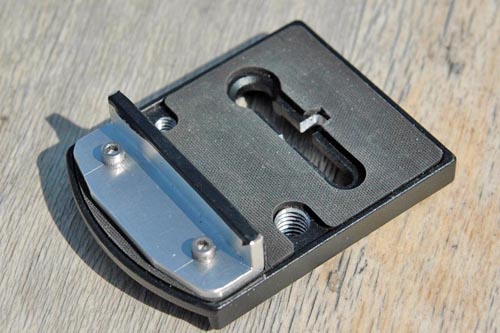
The angle plate in front locates the camera in one axis. The slot in the back is where the mounting bolt slides in. This locates the camera in the other axis. These two features locate the plate in the exact same position every time.
The plate that bolts onto my Nodal Ninja 3:

The two slots keep this bracket from rotating when I need to adjust front/back for the nodal point. I also modified the upper arm to add indexing. Much better than the stock friction pad.
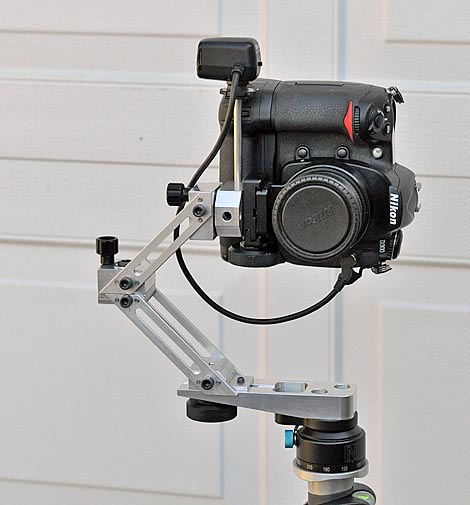
My first attempt at a bracket to hold the camera steady for the Nadar patch shot:
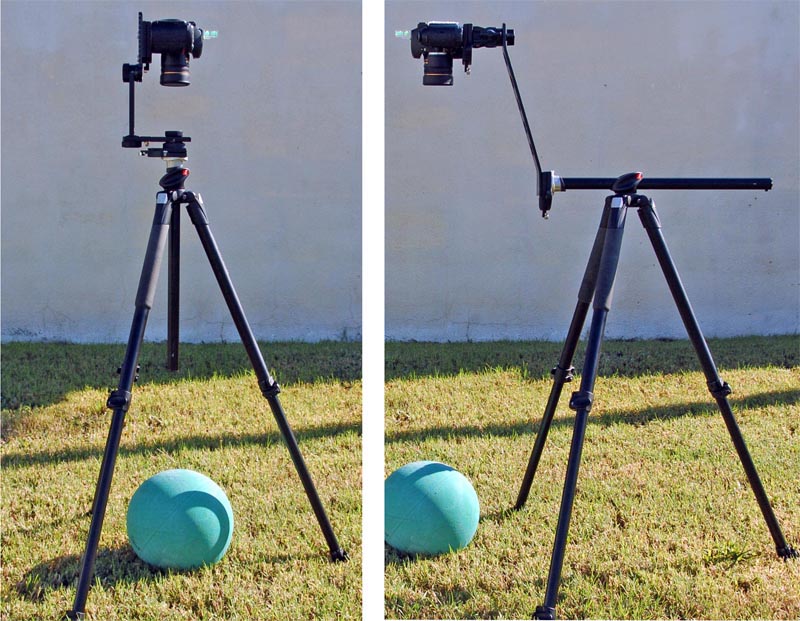
No counter balance needed. It takes less than 1 minute to change from the picture on the left to the picture on the right. Very quick, stable and light.
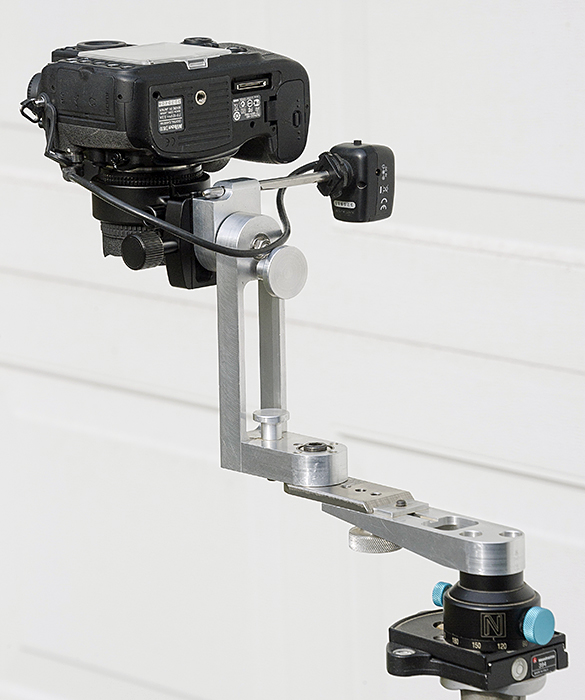
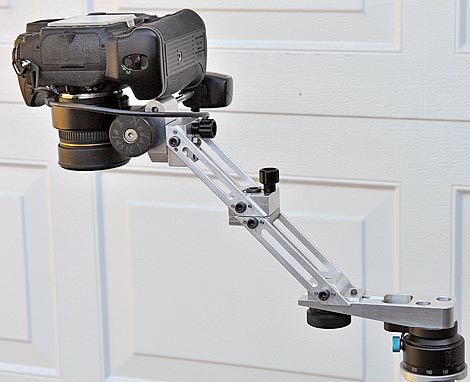
Since I wanted to be able to use tripods that do not have a rotating center column, my second attempt yielded a version that works with any tripod:
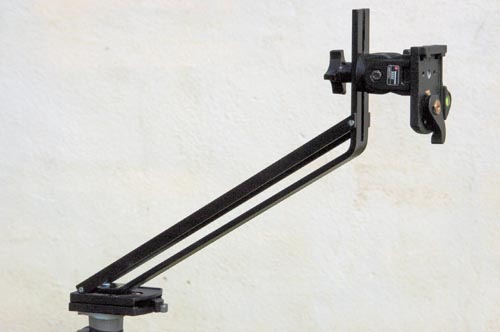
This is my favorite since it does not require the center column to be rotated. This one is even quicker to get from the Nadar shot to the Nadar patch shot than the previous version. No counter balance or any other extra weight is required to use this bracket.
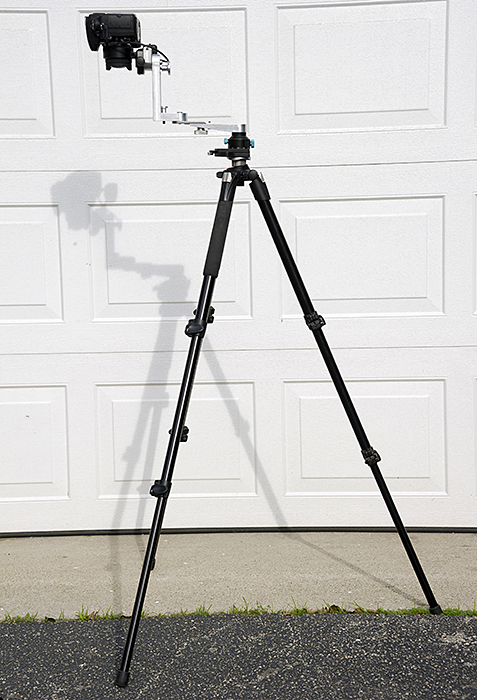
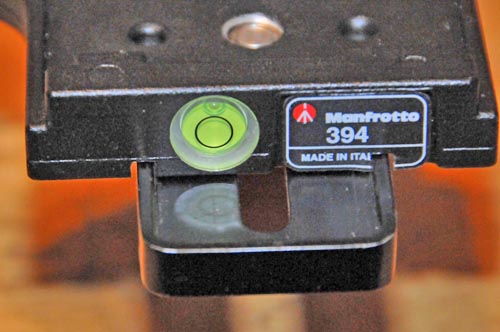
And finally, one that I built with off the shelf parts (sort of):
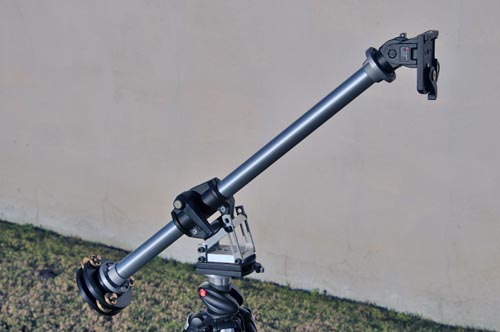
This is a real beast. I finally found a use for the Manfrotto leveler. Notice the counter balance weight at the end of the boom. The adjustable angle plate is custom made.
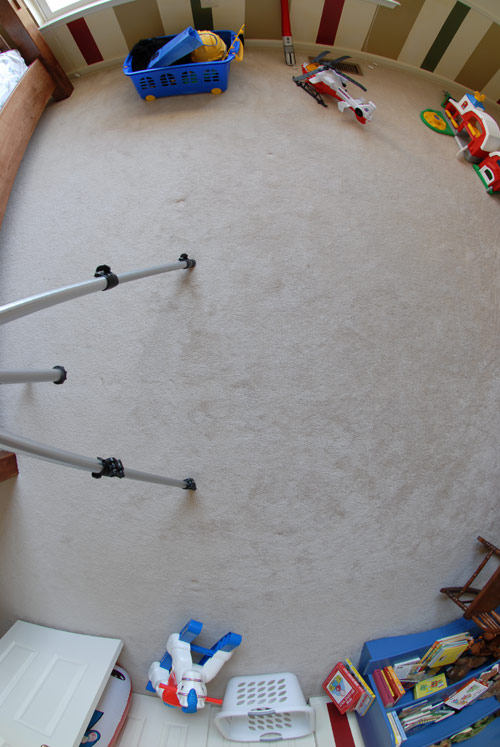
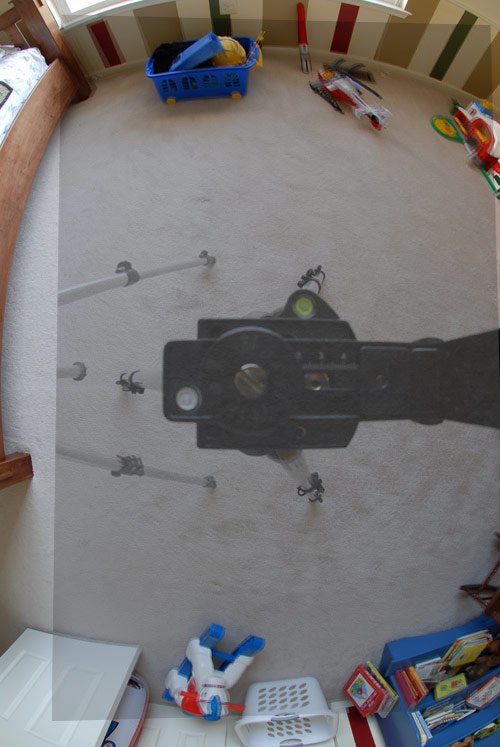
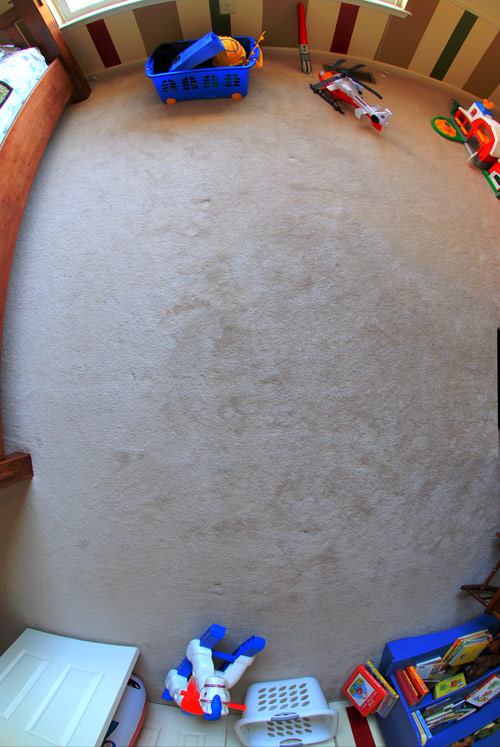
Here are the pictures produced using this technique. As you can see, combining them prior to stitching will be brain dead easy.
View on pano head View using offset bracket
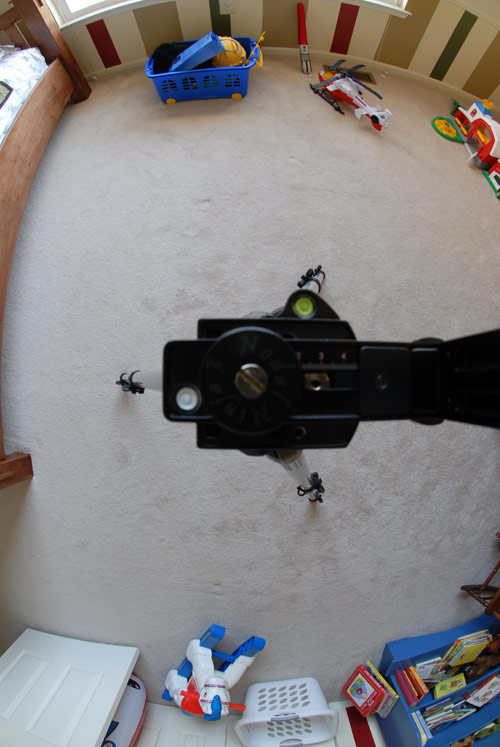
Layers in Photoshop. The final combined shot.
Now I do the stitching. This is way easier than trying to cover the tripod later in the production process.